The Ultimate Newborn Photo Shoot Checklist: Everything You Need to Bring
On this page
Capturing your baby’s first fleeting weeks is magical, yet packing for the session can feel daunting. This guide offers a complete, stress-free checklist for your newborn photo shoot, so you arrive prepared and leave with timeless images. We cover essential feeding and comfort items, plus clever personal touches that elevate your gallery. You’ll also learn how to handle the studio’s warmth and lighting, and what to expect during a typical two-to-three-hour session—letting you relax and focus on your little one.
Preparing for the Session Window
Scheduling Within the First Two Weeks
Timing is everything. The first 5 to 14 days after birth are the golden window for a newborn shoot. It might feel tempting to wait until your baby seems more settled or alert, but the reality is that newborns in this early period still have that curled, womb-like flexibility. They sleep deeply for long stretches and handle being moved and repositioned with far less fuss. After two weeks, babies become more alert, their startle reflexes kick in, and growth spurts often make them fussier—and much harder to coax into those classic, heart-melting poses.
Once your session date is confirmed, pack your bag right away. Don’t wait until the last minute. The days after birth are a blur of feeding, recovering, and adjusting, so a pre-packed bag is a lifesaver. Get it ready three to four days in advance and set it by the door. Then, whether your baby cluster-feeds all morning or you’re running on two hours of sleep, the only thing left to do is grab the bag and go.
Understanding the Studio Environment
Know what to expect before you walk in. Professional newborn photographers don’t keep their studios at a typical room temperature—they crank the heat to a balmy 80 to 85°F (27 to 29°C). That warmth mimics the amniotic environment, keeping your baby drowsy, relaxed, and easy to pose. It also prevents chills during those adorable bare-skin shots.
For you, though, it will likely feel quite warm. Skip the heavy jeans and thick sweater. Instead, wear light, breathable layers—a cotton tee, loose linen trousers, or a soft tank under a thin cardigan. You’ll be holding your baby during feeding breaks, settling them between poses, and possibly stepping into a few parent-and-baby shots. Being able to peel off a layer or roll up your sleeves will keep you comfortable and calm, which helps your baby stay relaxed too. And if you might appear on camera, bring a simple, neutral-colored top—busy patterns can distract from your newborn’s tiny features.
Essential Baby Care Items
A successful newborn session starts with your baby’s comfort, which means keeping the right supplies close at hand. A well-stocked diaper bag is more than a nice-to-have—it’s your key to a smooth, relaxed shoot where the photographer can capture those curled-up poses without constant interruptions.
Diapers and Wipes
Bring at least double what you think you’ll need. A full pack of diapers and a fresh, unopened pack of wipes are non-negotiable. Newborns are unpredictable; a two-to-three-hour session can easily involve four or five changes, especially after the gentle jostling of posing, unswaddling, and re-swaddling. The new environment plus the warmth of studio lights often gets their systems going. Tuck a portable changing pad or soft, waterproof mat into your bag, too. Studio floors may be clean, but they’re no place for a bare-bottomed baby. A dedicated surface keeps things hygienic and comfortable during quick swaps between setups.
Feeding Supplies
Even if you plan to nurse on demand, pack a bottle of expressed milk or prepared formula. Feeding breaks aren’t a sign of trouble—they’re a standard, expected part of the process. A full tummy is the surest route to the deep, peaceful sleep that makes for timeless newborn portraits. Plan to pause for a feed at least once, often twice, to settle your baby between poses. If the session runs long, bring extra milk in a small cooler with an ice pack. And never skimp on burp cloths—two or three at minimum. Spit-up happens, and a soft cloth protects both your baby’s outfit changes and the photographer’s props.
Pacifier and Soothing Tools
Even if your baby rarely takes a pacifier at home, bring one. Many photographers find it the quickest, gentlest way to calm a fussy baby between poses without fully waking them. It’s a temporary tool to reset the mood, not a habit to form. Also pack a small, battery-operated white noise machine or download a familiar lullaby playlist on your phone. Studio ambience differs from home, and a steady, soothing hum can bridge that gap, helping your newborn drift back to sleep during prop transitions. These quiet tools often make the difference between a tearful session and a beautifully serene gallery.
Clothing and Comfort for the Baby
What your little one wears to the studio can make or break the entire session—not because of how it looks in photos, but because of how easily it comes off. The golden rule is simplicity: dress your baby in a loose, zip-up onesie or a kimono-style top that opens fully in the front. These allow the photographer to undress and redress your baby with minimal wriggling and zero fuss. Avoid pull-over shirts, tight leggings, or anything with a dozen tiny snaps that require you to wrestle a sleepy newborn into contortions mid-shoot. A baby who is disturbed during a change is a baby who will cry, and a crying baby means lost time and stressed parents. Always pack at least one backup outfit—ideally two if the session runs long—because spit-up and diaper leaks are not a matter of if but when. Choose backups that are equally easy to remove; a second zip-up sleeper in a different color works perfectly.
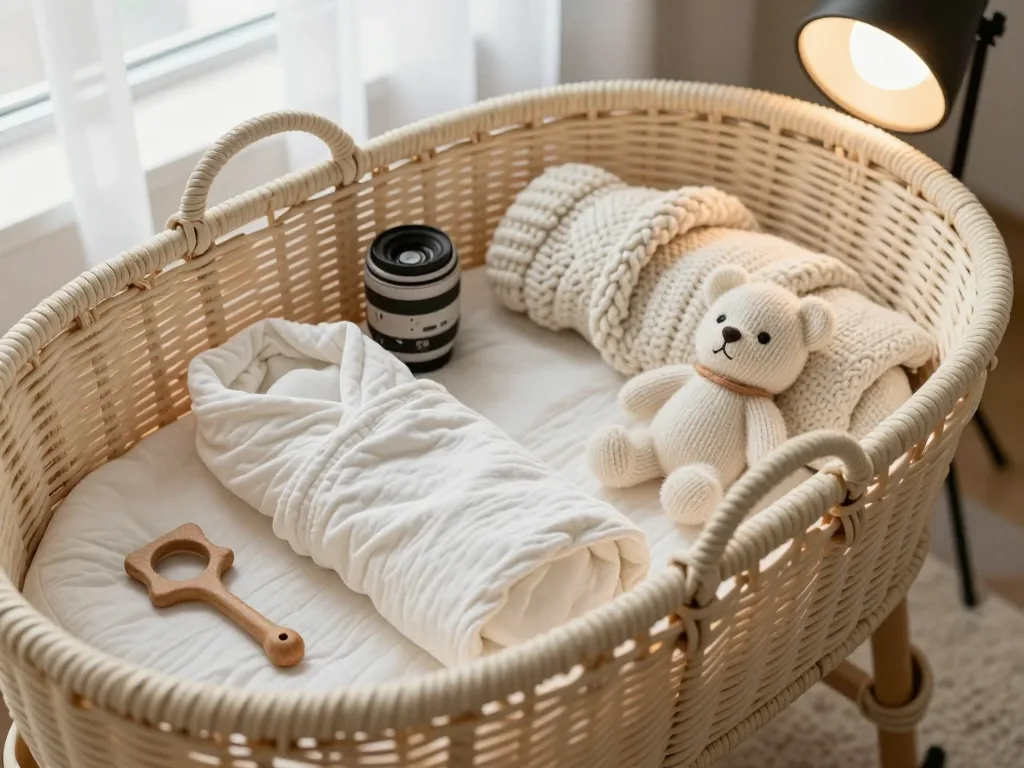
Next, think about comfort through scent and texture. Bring a swaddle blanket or receiving blanket from home, preferably one that has been used and carries your familiar smell. Newborns are deeply comforted by the odor of their parents, and a well-loved blanket can calm a fussy baby faster than almost any prop. Most photographers have a beautiful collection of wraps, bonnets, and textured fabrics, but they will always welcome personal items that help the baby feel secure. When selecting your own blanket, opt for soft, neutral tones—cream, oatmeal, soft gray, or dusty blush. Loud patterns or bright colors can clash with the studio’s backdrop and draw the eye away from your baby’s face. A simple, solid-colored muslin or a chunky knit throw in a muted shade works beautifully. Avoid anything too bulky or heavily textured, as it can overwhelm a tiny newborn and make posing difficult. Remember, the goal is for your baby to feel like they are wrapped in a familiar hug, not on display in a costume. If you have a special heirloom blanket, bring it, but be prepared to use it sparingly—sometimes a small corner tucked under the baby’s chin is all that is needed to evoke home without distracting from the shot.
Parent Comfort and Convenience
A newborn session is rarely quick. Between soothing, feeding, and positioning, you can easily spend three or four hours in the studio or at home. Your comfort directly affects your baby’s mood, so planning for your physical ease matters as much as packing their wardrobe. Start with a feeding pillow—a sturdy nursing pillow with a firm base saves your arms and lower back from the strain of holding a feeding baby for twenty minutes at a time. No nursing pillow? A regular bed pillow or rolled-up blanket works in a pinch, but a dedicated one keeps your elbows propped at the right height and lets your shoulders relax completely.
For privacy, bring a nursing cover or lightweight muslin blanket. Even if you’re comfortable feeding openly, a cover offers the option to step away from the camera and have a quiet, shielded moment without feeling exposed. That same muslin doubles as a burp cloth, makeshift shade, or soft surface for a quick diaper change—so it earns its space in your bag.
Snacks and hydration are non-negotiable. Sessions run long, and natural breaks for a proper meal aren’t guaranteed. Pack a water bottle with a straw—one you can sip one-handed while holding a sleeping baby—plus a few non-messy snacks like granola bars, dried fruit, or pretzels. Avoid anything crumbly or sticky, since you’ll likely reach for your baby between bites. A small personal kit helps too: hair ties to pull your hair back between setups, lip balm for long quiet stretches, and a phone charger for your own behind-the-scenes shots. Wear comfortable shoes that slip off easily—you’ll spend most of the session sitting cross-legged or kneeling on the floor. Slip-on sneakers or soft flats are ideal; you can kick them off in seconds and get down to your baby’s level without fumbling with laces.
Advanced Considerations for a Smooth Session
Backup Supplies and Extras
Beyond diapers and wipes, a well-stocked “just in case” kit can turn a meltdown into a minor hiccup. Pack at least two extra pacifiers—one for the baby, one for the photographer to use as a prop or quick soother between setups. A nasal aspirator is a quiet lifesaver; even faint congestion can make a newborn fussy and disrupt those serene, curled-up poses. Toss in a change of clothes for yourself, because spit-up or a diaper blowout rarely waits for a convenient moment. If your photographer uses textured blankets or vintage props, bring a small bottle of baby-safe lotion or oil—a quick dab on sensitive skin can prevent redness from wool or rough cotton. Finally, jot down a brief note about your baby’s natural feeding and sleep rhythm: when the last nap ended, how long they typically eat, and their usual fussy window. Hand it to the photographer. This tiny map helps them time poses around your baby’s most cooperative stretches.
Communicating with Your Photographer
A smooth session starts with a clear conversation days before. Ask your photographer directly about their favorite props, posing styles, and any specific items they request from home—some love a particular family heirloom blanket, while others prefer minimalist setups. Be upfront about allergies or skin sensitivities, especially if your baby has reacted to certain fabrics or detergents before. If you have strong preferences about colors or textures, say so early, so the photographer can plan backdrops that match your vision rather than improvising on the spot. Confirm the total session length and whether there’s a built-in break for feeding or burping; this affects how many outfits and props you can realistically bring. Knowing the schedule lets you pack smarter—fewer items, but the right ones.
Timing and Logistics on the Day
Arrive ten to fifteen minutes early, not just to park, but to let your baby acclimate to the new sights, sounds, and smells of the studio. A rushed entrance can overstimulate a newborn, undoing all your careful pre-session calm. Feed your baby right before leaving home to encourage that deep, milk-drunk sleepiness photographers adore, but prepare for a second, smaller feeding upon arrival—many babies need a top-up to fully relax. Finally, bring a car seat cover or light muslin swaddle to shield your baby during the walk from car to studio; temperature shifts are a common trigger for fussiness, and a gentle barrier keeps them cozy without overheating. These small logistics may seem fussy, but they are the quiet difference between a session full of tears and one full of perfect, sleepy smiles.
Ready for a Stress-Free Session
This complete checklist has everything you need to keep your newborn calm, comfortable, and camera-ready—no last-minute scrambling, no forgotten essentials. From feeding supplies and extra layers to backup outfits and soothing props, each item serves one purpose: letting you focus on the joy, not the logistics. Pack your bag the night before, check the room temperature, and leave a little extra travel time so you arrive relaxed. Then trust the process—your baby’s sleepy stretches and tiny yawns will handle the rest. All you have to do is show up, breathe, and let the photographer capture your new family.